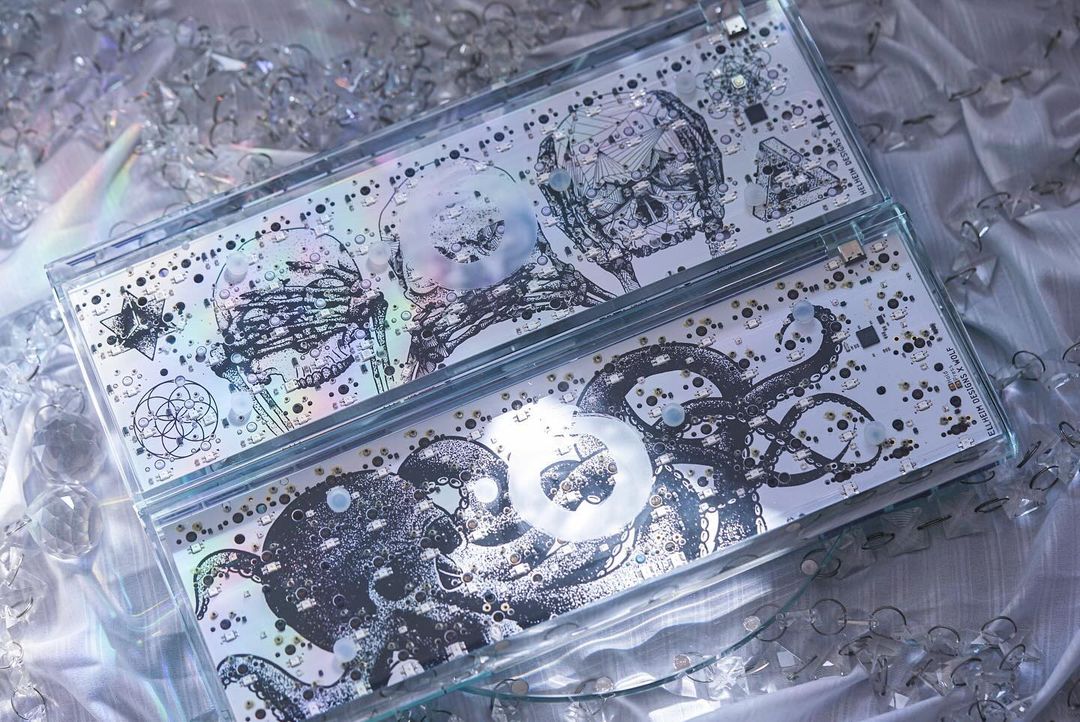
In order to flash the Baldr65 PCB, you will need a few things. First, you'll of course need a Baldr65 PCB. If you do not have this PCB, we can not guarantee that flashing your PCB is the same. Next, you will need to download both the Baldr65 hex and JSON files that are linked here. Finally, you will need QMK Toolbox.
Step One: DFU Mode
In order for QMK Toolbox to recognize your PCB, you will need to put it into DFU mode. This can be done by either holding the reset button on the back of the PCB while you plug in your keyboard, or holding the escape button while you plug in your keyboard (make sure to plug the PCB directly into your computer, do not use a USB Hub).

Once QMK recognizes your PCB in DFU mode, it will pop up in yellow text saying "Atmel DFU device connected."
Step Two: Loading the Hex File
For loading the Hex file to flash your PCB, simply click "Open" at the top of QMK Toolbox, and load the file "baldr_rgb_matrix.hex." Once this is done, you can move onto step three.

Step Three: Clear the EEPROM and Flash your PCB
Clearing your EEPROM and flashing your PCB is as simple as pressing "Clear EEPROM," letting it clear, and then pressing "Flash."

Once your PCB is flashed, it will pop up at the bottom of QMK Toolbox that says "Flash complete." Next, we can move onto VIA, so you can configure your PCB to your liking.
Step Four: VIA
For VIA, please make sure you are using usevia.app, and you are using either Google Chrome, Microsoft Edge, or any browser that has WebHID Enabled. In VIA, we will head over to the "settings" section and toggle "Show Design tab."
Once the Design Tab is enabled, you can click the paint brush at the top and click "Load" next to Load Draft Definition. 
Pressing this will allow you to upload the JSON file that you downloaded with the HEX file, and then you can switch over to the "Configure" tab. Once you're in the Configure tab, simply press "Authorize device" and select "Helheim_Design_Baldr."
Step Five: Configure Your Board
That should be everything you need and you should be able to use VIA with your Baldr65! VIA has all of our lighting controls, key bindings, and everything in between that you need for your Baldr65 to be set up the way you want it.
Rare Occasion: Zadig
In some rare instances, plugging your PCB into your PC will accidentally load another driver onto your PCB. If this happens, simply use Zadig and put your PCB into DFU mode (as mentioned above). Once it is in DFU mode, you will select the "list all devices" in the options drop down menu at the top of the program. Next, you will find the device titled "ATm32UDFU" in the drop down menu in the middle of the program. Simply replace the driver it has with "WinUSB (v6.1.7600.16385)" and click "Replace Driver." Once this is complete, you can start at the very beginning of this guide and you should be able to use your PCB properly.
We hope this guide helps some of you with flashing your firmware for your PCB, and if there are any questions you have along the way, please feel free to join our Discord and ask any questions in the channel titled #Baldr65-PCB-Support.
Thanks, and enjoy your Baldr65!
