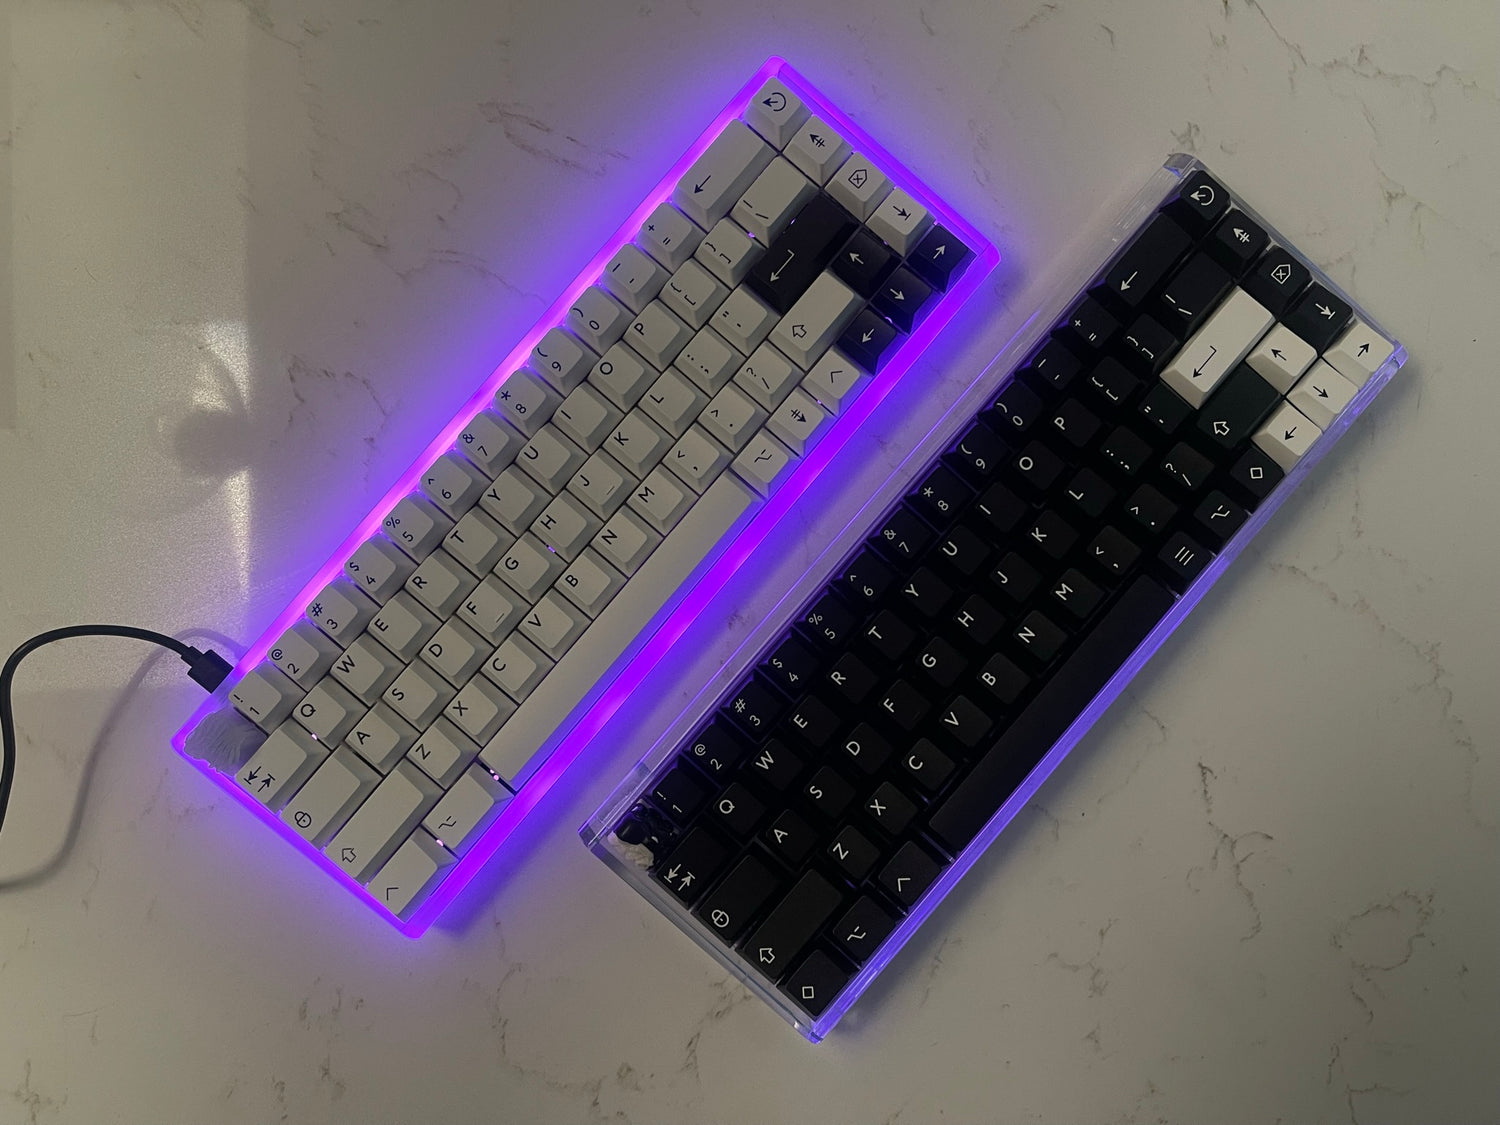
For the Freja65, we decided to make them friction fitted with plumbi that go on the underside of the PCB that will prevent them from bottoming out. The installation of these will be very easy for the full production run, however, on the Prototypes that streamers are going to be building, the holes are slightly too big for the rivets to fit how we originally planned. Luckily, you can still mount the plumbi onto the PCB and the whole build will work exactly the same. Below is a step-by-step guide on how to install these plumbi properly.
There are 6 Holes where you will be placing plumbi on the Freja65 PCB:


To properly place the plumbus into the PCB, you will need to do pull on the top of the plumbus, while also twisting the base into it:

When installed correctly, the plumbus will fit snug and will not move:

The bottom side of the plumbus will be flush to the bottom of the PCB once installed correctly:

And just like that, you did it!! You're all done with installing all necessary mounting plumbi so the PCB will not bottom out. Enjoy your Freja65, and thank you for building :)
