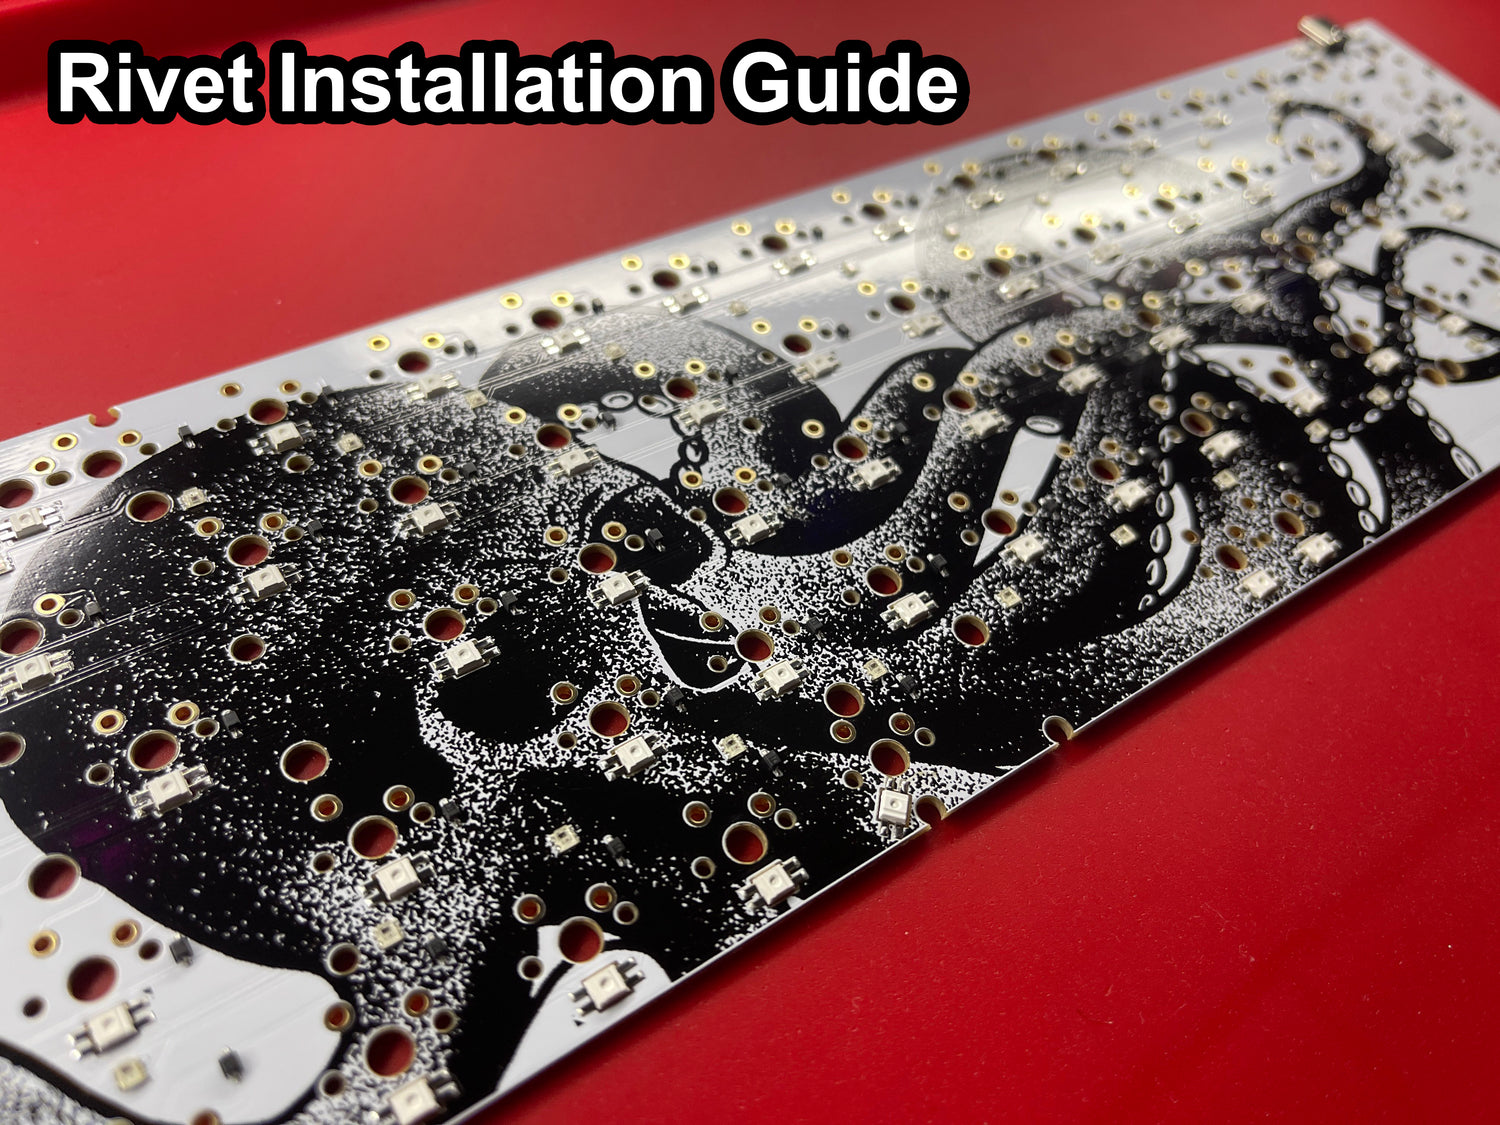
Hey all,
This guide was made for people who are confused as to how the rivets will sit in the PCB. We tried to make the design fairly user friendly, but to someone who has never seen the rivet, it could be confusing.
Step One: Locate the Rivet Holes
there are six rivet holes on our Freja65 PCB.

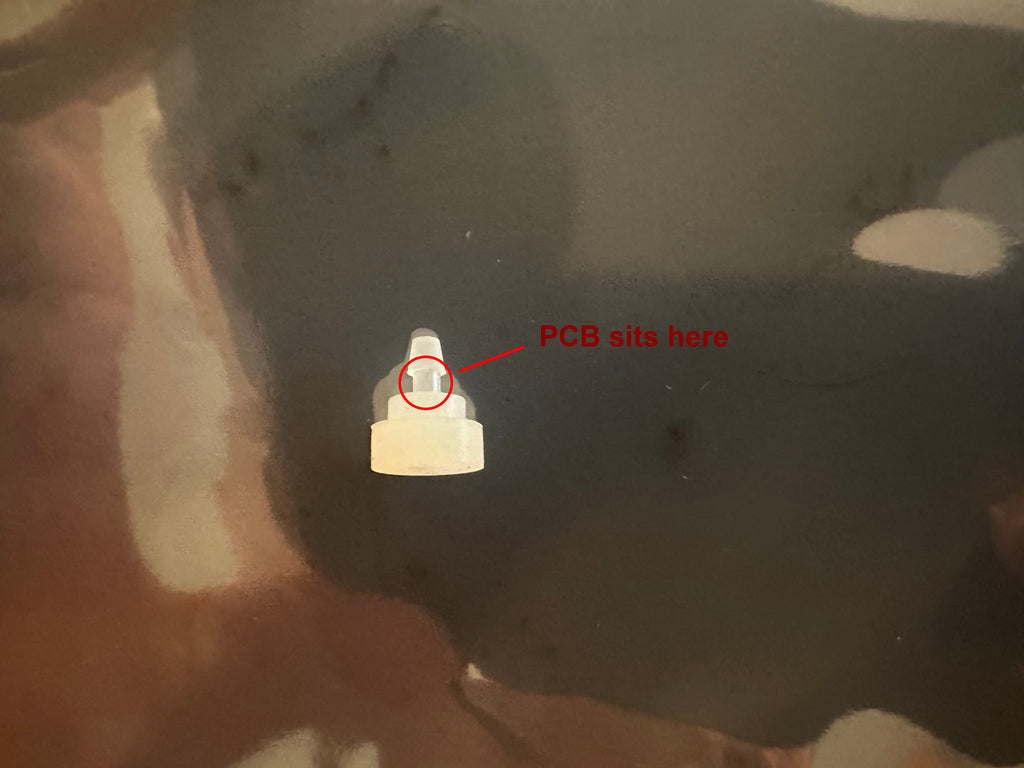
Step Two: Look At the Rivets
The rivets have a skinny neck that will be where the PCB sits, this will give the PCB enough space under so it won't bottom out on the case.
Step Three: Insert the Rivets
The rivets should sit nicely on the PCB, and when you look from the top you should only see the coned tip sticking out of the hole.


Step Four: That's All
Once you insert the cone shaped tip into the mounting hole, no further action is required, the rivet is set up and ready to go!

We hope this guide helps people understand how to use these for mounting, as well as the importance of them in this build.
Happy Building!
-Angel